Fruit crisps are one of those desserts that look super complicated, but they’re actually one of the easiest dishes to make. You can use pretty much any fruit you have on hand, and if you have fruit that’s about to spoil or rot, it’s the perfect use for it. This fruit crisp comes together in three steps and it’s so simple that you’ll want to make this dessert all summer long.
Step 1: Make the Topping
This will be the most time-consuming part of making the crisp. A great topping starts with a ratio of 3:2:1:1 or 3 parts rolled oats to 2 parts flour to 1 part sugar to 1 part liquid fat (oil or butter). After you’ve got the ratio right, mix everything together and spread it out on a parchment-lined baking sheet. Let it freeze for one hour.
Step 2: Prep the Fruit
The size of your baking dish will tell you how much fruit you need to use. For a large dish, use about 9 cups of fruit, for a medium about 6 cups, and for a small 1 cup. For each cup of fruit, add 1/2 teaspoon of lemon juice, 1 teaspoon of corn starch or tapioca flour, and between 1 and 1 1/2 teaspoons of sugar.
Step 3: Assemble and Bake
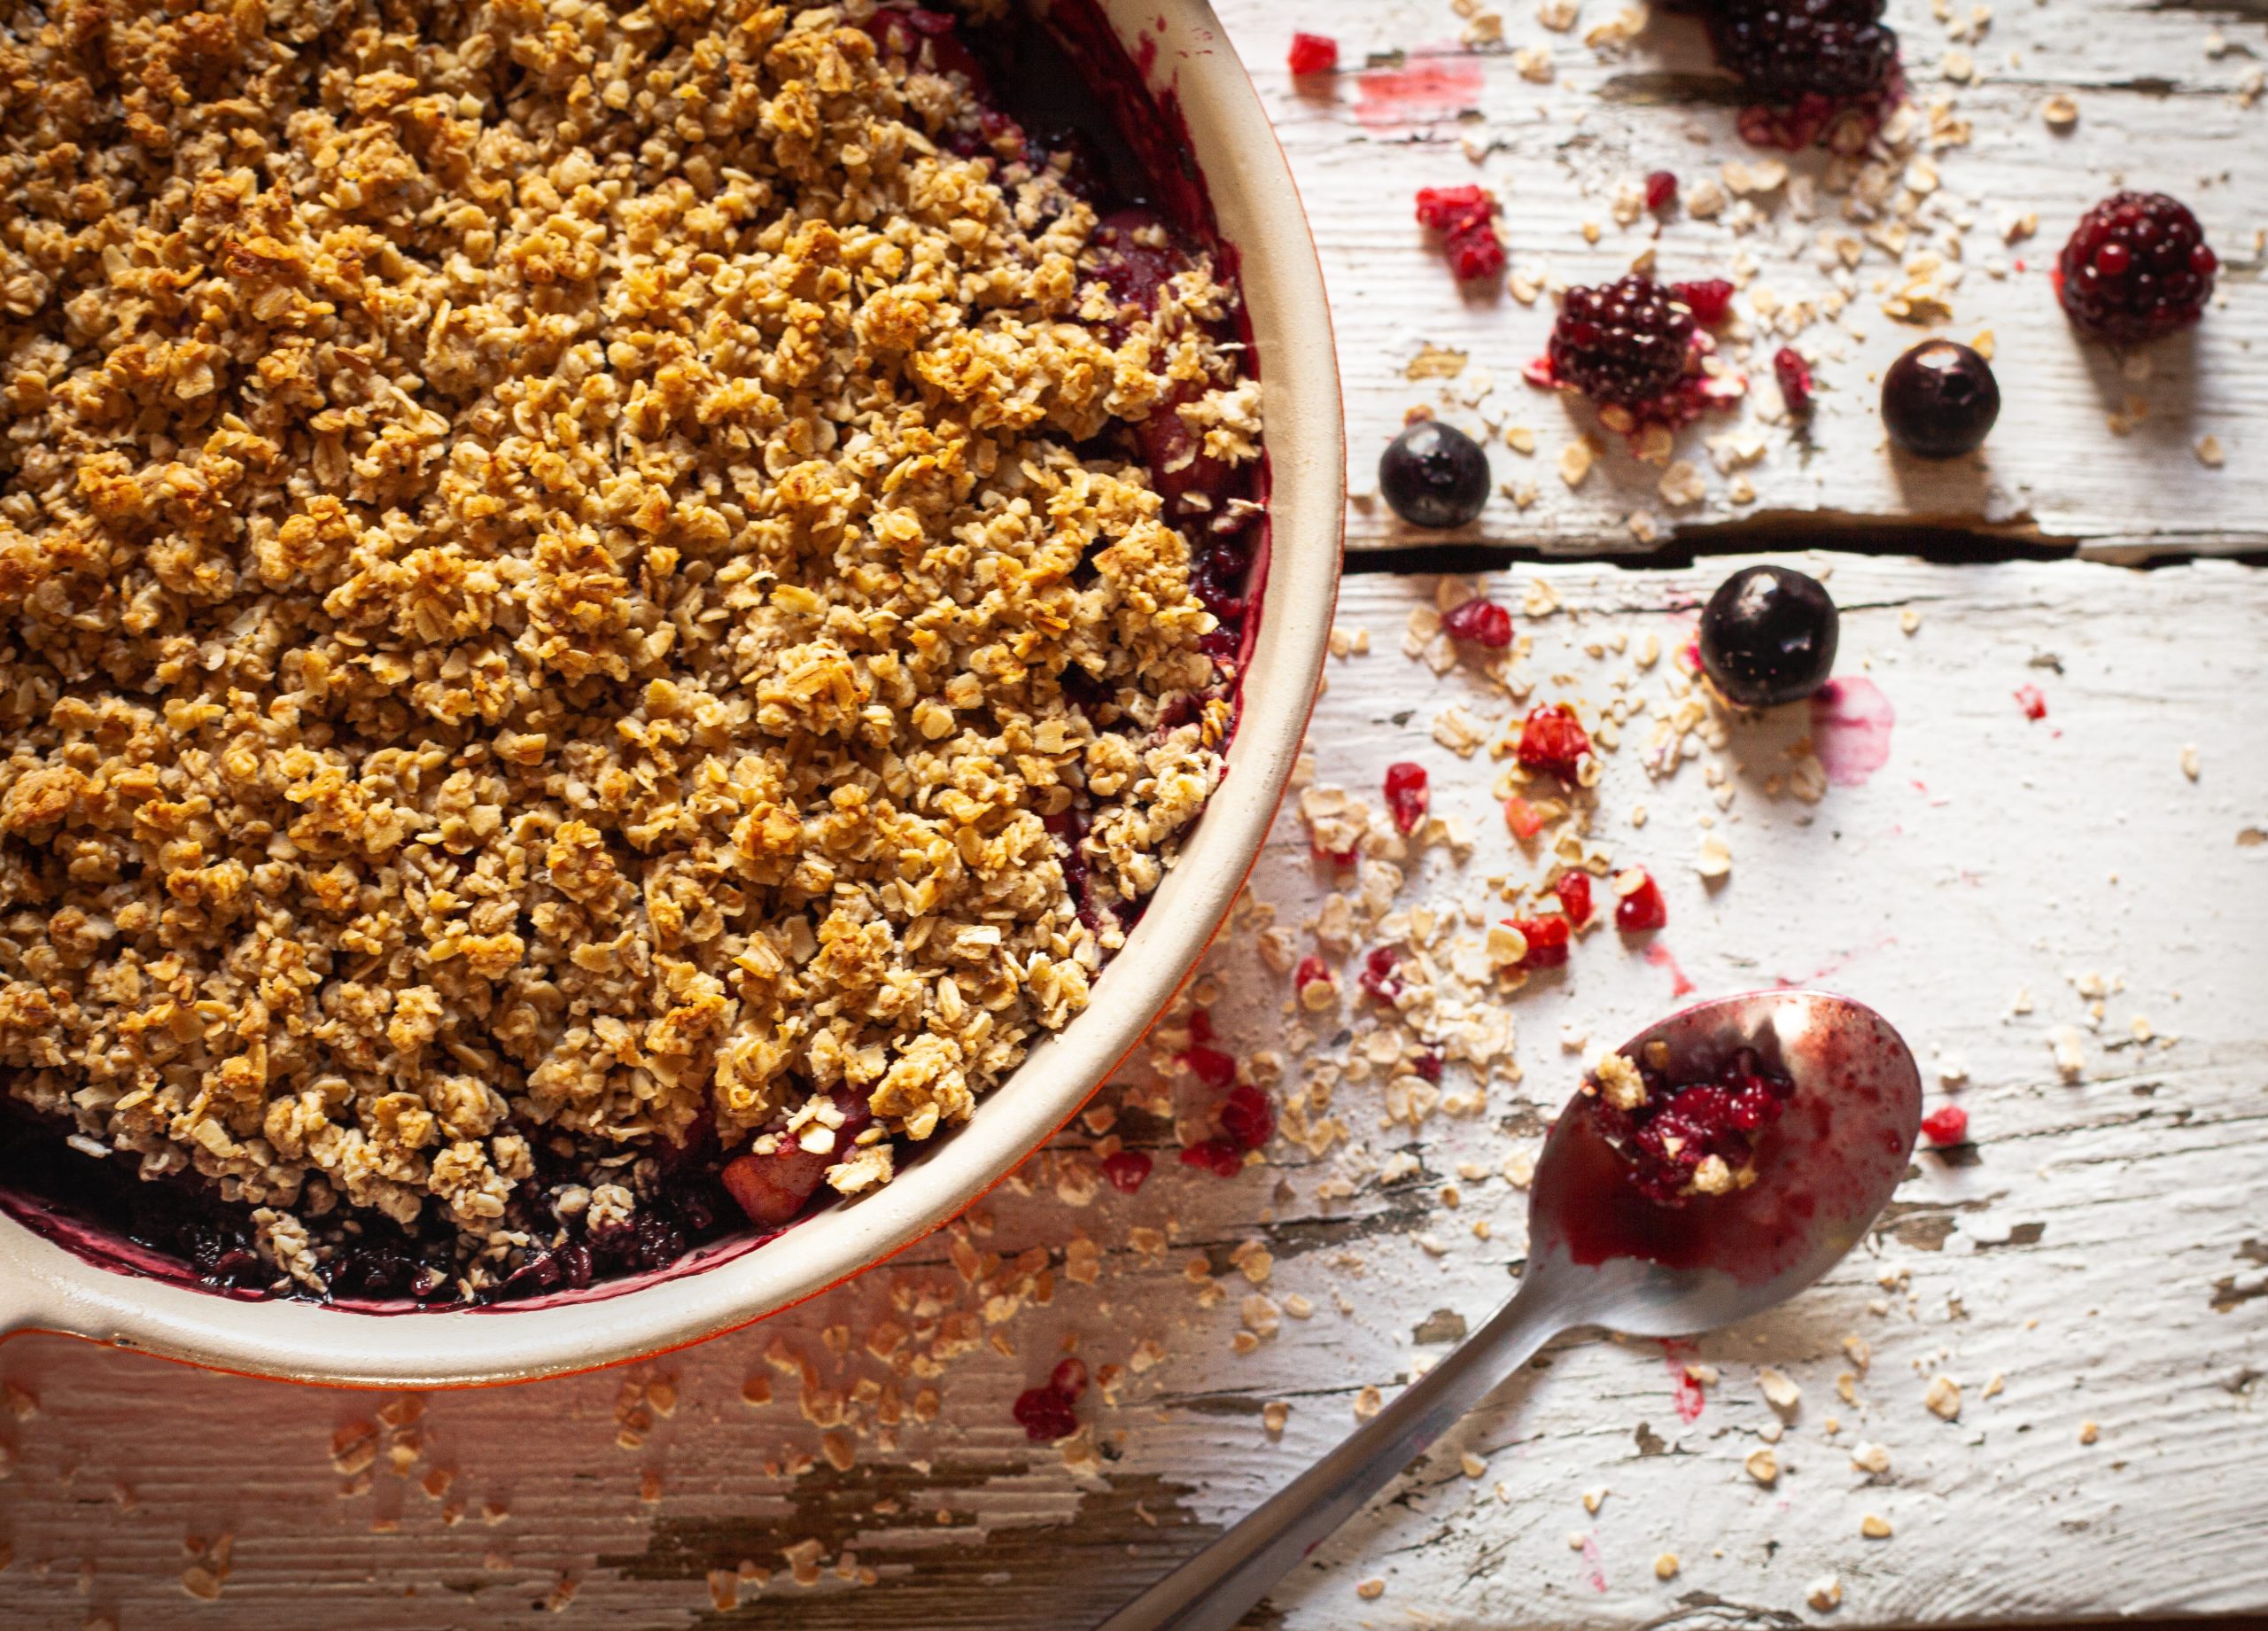
Preheat your oven to 350 F and spray or butter your baking dish. Fill it with the fruit mix and then top it with the topping. Bake for between 15-20 minutes for a small or medium baking dish and up to 35-40 minutes for a large one. It’s finished baking when the crisp is lightly browned and the fruit juice is bubbling.
