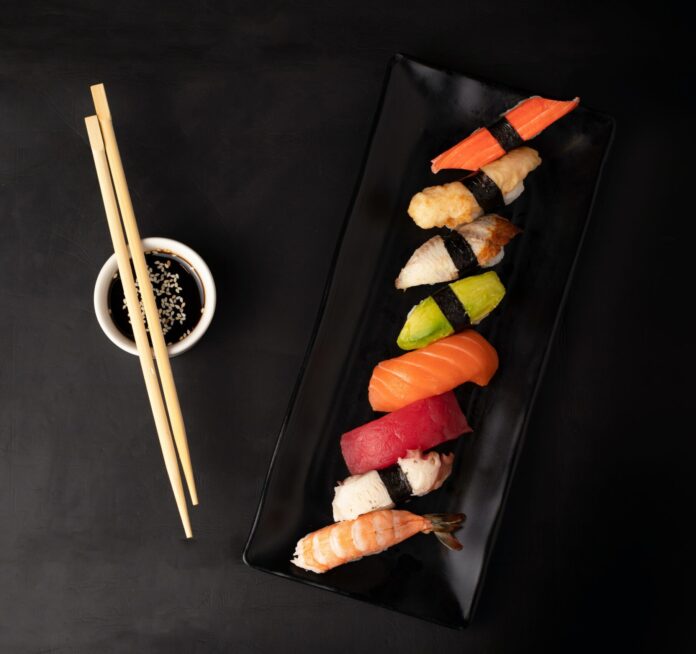
Sushi is one of the most beloved foods in the world, and it’s no wonder why. The combination of fresh fish, perfectly cooked rice, and just the right amount of seasoning is a culinary experience unlike any other. But have you ever thought about making your own sushi rolls? With a little bit of practice, you’ll be able to make delicious sushi rolls at home that rival those at your favorite sushi restaurant. And the best part? You can customize your rolls to your heart’s content, creating unique flavor combinations that you won’t find anywhere else.
Step 1: Get the Basic Ingredients
First things first, you’ll need some basic equipment. You’ll need a bamboo sushi mat, which you can find at most Asian markets or online. You’ll also need some sushi rice, nori (seaweed sheets), and your choice of fillings. Popular fillings include salmon, tuna, avocado, cucumber, and carrots, but feel free to get creative with your ingredients.
Step 2: Cook the Perfect Sticky Rice
The key to making great sushi is in the rice. Start by rinsing your sushi rice thoroughly until the water runs clear. Then, cook the rice according to the package instructions, but add a tablespoon of rice vinegar and a pinch of sugar to the cooking water. This will give your rice the perfect sticky texture and flavor.
Step 3: Assemble Your Sushi Roll
Once your rice is cooked, it’s time to assemble your sushi roll. Lay a sheet of nori shiny-side down on your sushi mat. Wet your hands with water to prevent sticking, and then spread a thin layer of rice over the nori, leaving a small border at the top. Add your fillings on top of the rice, and then use the sushi mat to roll everything up tightly.
Step 4: Cut and Serve Your Sushi
To cut your sushi roll, use a sharp knife and wet it between cuts to prevent sticking. Serve your DIY sushi rolls with soy sauce, wasabi, and pickled ginger.


