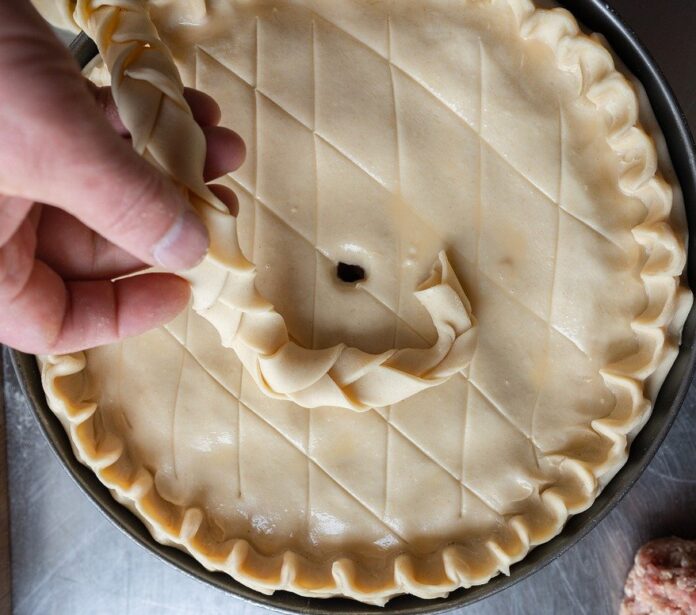
You know, that buttery, flaky base that can make or break your favorite pie. If the thought of making one from scratch sends you running to the frozen aisle of your supermarket, this is for you. Homemade pie crust doesn’t have to be a battle. It’s all about understanding a few key principles. Let’s jump in.
Keep Everything Cold
The first secret is all about temperature control. Keep your ingredients, especially the fat (be it butter, shortening, or lard). The reason? When cold pieces of fat melt in the oven, they release steam, creating those coveted flaky layers.
Don’t Overwork the Dough
When you mix flour with water, gluten begins to form. Gluten is great for bread, but not so much for pie crusts. The key is to mix just until the dough comes together. It’s okay if it looks a bit shaggy or crumbly. That’s actually a good sign.
Let the Dough Rest
Once mixed, the pie dough needs a good rest in the refrigerator. This rest period allows the gluten strands that have formed to relax, which in turn helps prevent shrinkage when baked. Additionally, this chilling time helps the fat solidify again, contributing to the flakiness of the crust. Aim for at least 30 minutes.


