There’s something undeniably special about spreading a dollop of homemade fruit jam onto a warm slice of toast or swirling it into a bowl of creamy yogurt. Making fruit jam at home is not only a delightful culinary adventure but also a way to preserve the vibrant flavors of seasonal fruits.
Choose Your Favorite Fruits
The first step in making fruit jam is selecting the star ingredient—fresh, ripe fruits. Whether it’s strawberries, peaches, raspberries, or a combination of your favorite fruits, choose ones that are at the peak of their ripeness for maximum flavor. Remember, the quality of the fruit is the key to achieving a truly remarkable jam.
The Perfect Balance of Sugar
Sugar plays a vital role in jam-making, as it not only adds sweetness but also acts as a natural preservative. However, finding the right balance is crucial. Start with a 1:1 ratio of fruit to sugar for a classic, sweet jam. Adjust the amount of sugar based on the sweetness of your fruits and personal preference. For a healthier twist, you can also experiment with alternative sweeteners like honey or maple syrup.
Cooking and Thickening
Begin by gently heating the fruits in a saucepan over medium heat until they start to release their juices. Once the fruits are soft, mash them with a fork or potato masher to create a chunky texture. Add the sugar and stir until dissolved, then bring the mixture to a rolling boil. Let it simmer until the jam thickens, stirring occasionally to prevent sticking.
Spices, Herbs, and Zests
Adding spices, herbs, or zests can elevate your jam to new heights of deliciousness. Consider adding a splash of lemon juice for a tangy twist, a pinch of cinnamon for warmth, or a sprig of fresh mint for a burst of freshness.
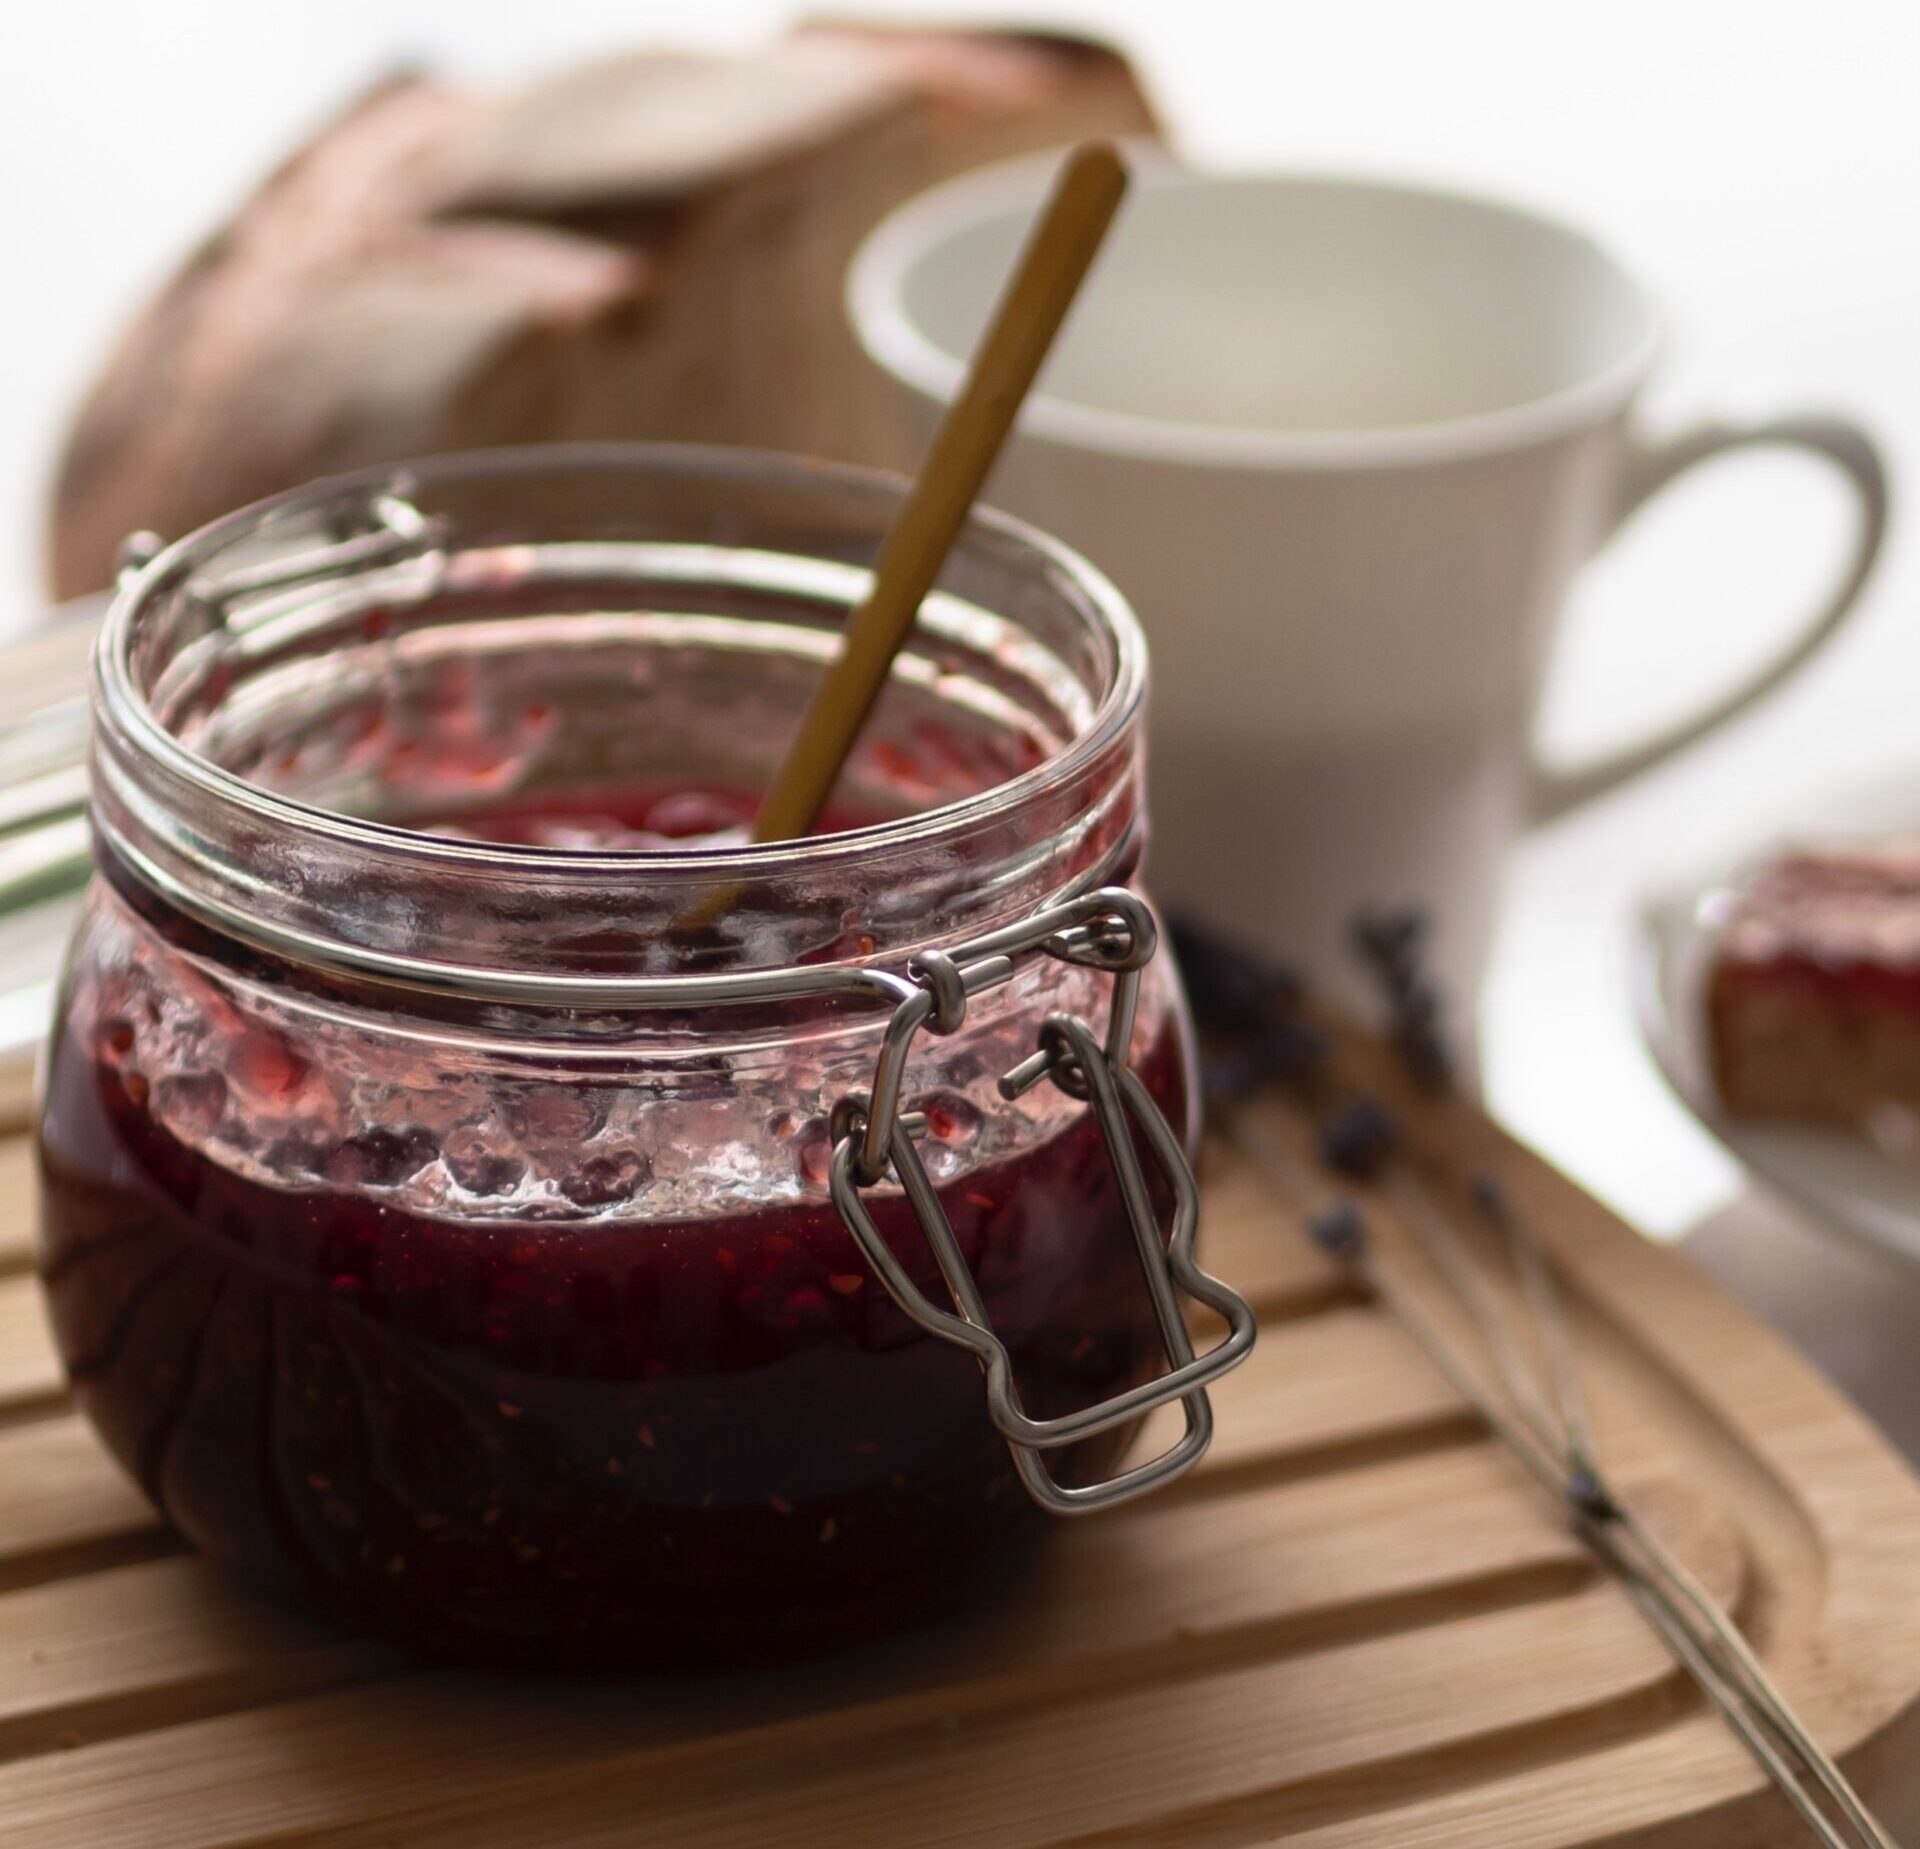
Sterilization and Preservation
Start by sterilizing your jam jars and lids by boiling them in hot water for a few minutes. Once the jam is cooked to your desired consistency, carefully ladle it into the sterilized jars, leaving a small headspace at the top. Wipe the rims clean, place the lids on tightly, and process the jars in a boiling water bath for a recommended amount of time. This step creates a vacuum seal that prevents spoilage.


